Monday, December 13, 2010

Crafting for Christmas

******SPOILER ALERT FOR PEOPLE RECEIVING GIFTS FROM KELLY T.*******

As many of you know our little group's main mission has been making Christmas presents. Making each gift in bulk as a group gives us a chance to be something other than just a mom/wife while doing something we love. I have been incredibly lucky to have my husband home for four day weekends three times in the last two months. And while we are all  SAHMs, there is nothing like having a husband stay at home for four days. It generally means there is a bit of a break for us always on duty moms. I was able to get a lot done during the long weekends- mainly Christmas presents or Christmas decor, but a few things that have been waiting patiently for months. 

I made this table runner using the pattern at Crafts by Abby. It is a gift for my MIL along with matching placemats and coasters (some still to be completed). No photos because while she does know what she is getting and picked out the fabric I want to save some of the surprise.

I also made two aprons from Sew 4 Home. I changed the pattern a bit to avoid the bias tape, but the same general idea (Fans of HIMYM- in my head I am saluting "General Idea"). I won't mention who these are gifts for, as they don't know yet.


This messenger bag is for my son and daughter to share. They are getting Leapsters for Christmas and I wanted a nice little bag to store it all in. I used this tutorial with a few modifications to fit everything I need without being too big for a child.


I finally recovered this tiny rocking chair I picked up for $5 last April with corduroy. No tutorial, just craziness. But boy does he love it!!!

I adjusted this pleated skirt so it would actually stay up on my tiny daughter's waist. Libby and I made them a few weeks back, but it required some alterations. The pattern is here. We also appliqued matching shirts. The girls are adorable in their new outfits.


I made this tree skirt, also from Sew 4 Home. I loved the fabrics from JoAnns at 60% off. I am going for the blue and silver winter Christmas.


With the leftover fabric I made this advent calendar. My own creation, but very easy. Just a little time consuming. All those buttons and pockets. But my daughter really liked the final product and thanked me for making it, "I love it Mommy- you are the best!".


With the cold weather coming I made a couple of hats. They are both crocheting- A's was very basic, just double crochets all the way around, but I's was this adorable pattern I found through Ravelry. I heart Ravelry.


Last, I made two of these adorable crocheted headbands. They took maybe 20 minutes for both of them. Perfect for a last minute gift if anyone is looking. Less than two weeks until Christmas. Yikes!

How to Post with Kids

Rather than making excuses about why we haven't posted in weeks (sick kids, sick husbands, weather, holidays, too busy making gifts, vacations, etc.), I thought it would be more productive to make a list of the best ways to blog when kids are in the picture.

  1. Blog very early in the morning or very late at night. My kids are in bed from 8:30 until 7:30 on an average night, so if I'm not interested in sleeping 11 hours I can use some of my alone time to blog.
  2. Blog during naptime. Again, my kids are in their rooms from 1 until 3 so this gives me 2 hours to blog. That should be enough, right?
  3. Give the kids an endless supply of cookies, candy, or chocolate milk in front of Sesame Street or Mickey Mouse Clubhouse. They don't need attention if they are stuffing their faces and laughing at the silly tv.
  4. Wait until Daddy comes home and sneak into the bathroom with the laptop. Just make sure to LOCK THE DOOR. Once you've been caught they will never trust you again.
  5. Tell everyone you need a nap and hide under the covers with your laptop. Again, don't get caught.
  6. Put on Christmas music and let the kids dance and shake jingle bells while you type.
  7. Let them crawl into bed with you to take a nap and turn your body the other way so they don't know you are secretly typing on the netbook.
  8. Tell them you will take them out to play in the snow IF they will clean the playroom first and use the cleaning time to blog.
  9. Setup your desk with two computers- one for the kids to watch videos or play games and one for blogging.
  10. Put up a gate around your desk so they just can't get to you.
I hope to be on again later today to do some posting. I'll try using my own suggestions. Thanks for checking out our blog.

Wednesday, November 17, 2010

Ready the Lumps of Coal!

We recently had a question about making your own Christmas Stockings. There are so many different options on the internet for every type of craft and skill. I am making knit and crocheted stockings this year. If you have a good understanding of knit, purl, and decreasing than this knit stocking is for you.

I came across it searching Ravelry.  If you do knit or crochet that is the best place to look for patterns. They have a ton of free patterns! I altered the pattern so mine has stripes of colors without the holiday figures. You can take their basic pattern and make your stocking any way you want it.

I am also crocheting one (it has been over a year since I've worked on it, but that still counts, right?) from Crocheted Christmas Stockings by Grace Kaplan.

The book has fifteen different stockings built off of one crocheting pattern. The stockings are BEAUTIFUL. I don't know when I would use a carrot stocking, but it is cute, isn't it. These stockings are difficult. This would not be a project to begin crocheting to- experience is necessary.

And Kelly M's favorite is the Bucilla Christmas Stocking Kits. Using a prepackaged supply of felt, thread, and base stocking you create a beautiful stocking that can be personalized with a name.  Basic sewing knowledge required. 

Each of the above projects takes a good amount of time. You won't be able to finish them the day before Christmas, so start crafting now. If you are in search of a less time consuming craft- try these links:

Better Homes and Gardens Embellishment Felt Stockings

Shanty 2 Chic's Ruffled Stocking

Martha Stewart's Felt Stocking

Or check Craftgossip.com for more ideas.

Happy Holiday Crafting!

Friday, November 5, 2010

Pants, Presents, and Future


Can you BELIEVE it is already November? I was so caught up with Halloween and trying to make a bunch of last minute Frightening crafts that suddenly it is almost Christmas. Poor Thanksgiving. I won't be able to make anything special for Thanksgiving (other than dinner) because I have so many things to finish up for Christmas.
Our latest craft has been flannel pants. Next we are taking on fleece. They are the quickest, easiest thing we've made yet. Handmade Mommy suggests 15 minutes a pair of pants at http://handmademommy.blogspot.com/2009/10/15-minute-jammy-pants.html. Check it out, she has a great tutorial.
We have a ton of presents left to make before Christmas.
And the future- you tell us- what do you think we should make post Christmas?

Tuesday, October 26, 2010

(Not So Sweet) Trick or Treat Bags


Wednesday is the preschool's Halloween party and parade for M and I. The class is made up of 2-3 year olds, and I just couldn't send a bag of candy for the kids. I know- I'll probably be the mom giving out toothbrushes and apples in a few years, but come on- they are 3! So this is my quick and easy, but not sweet, trick or treat bags.

I used felt, because that is what I had, but you could use any fabric to make these cute bags. Just make sure you fold the top down twice if you aren't using felt. I have a good collection of felt from this phase I went through making everything from the "Cute Stuff" by Aranzi Aronzo books.   They are a ton of fun, but I ran out of time since I borrowed them from the library. Anyhow- my husband is ALWAYS on me to use my fabric and not buy new, so he will love this project. I made six bags strictly using my leftover fabric.

This is REALLY quick and easy, so don't blink.

You will need:
Black felt 12 inches by 7 inches
2 pieces 12 inches long of about 1 inch orange grossgrain ribbon
Small amount of white felt for the ghosts- I used about a 4 by 4 inch piece each
Black fabric marker to make the face.
Ghost pattern

I found a cute ghost applique by googling for "cute ghost applique", I printed it, cut it out, and used it as my ghost pattern. It turned out pretty cute.

First, trace the ghost pattern onto a piece of felt and cut it out. Draw a face on the ghost. Fold the piece of black fabric in half to see where you want to place the ghost. Keep in mind you will be folding the top in a half inch to make the handles. Than use your machine to sew the ghost onto the felt.

Fold both short sides of the black felt in half an inch. Tuck the ribbon into the fold, and than bring it over the fold and pin. (Note the first picture below has the handles folded in, but you will want to sew with it folded over and out the top. See the second photo below). Make sure the ribbon doesn't twist and repeat on all four corners, leaving about an inch from the corner. Than sew both sides.

Fold the black felt in half, right sides facing with handles poking out of the top. Sew a line down the two sides of the bag.

Finally, turn right side out and stuff with your goodies.
I found bubbles, kalidescopes, notepads, stickers, and stick-on earings for the kids from Target and Michael's, but you COULD fill with candy too.
 

Monday, October 18, 2010

Sick Kids, Sick Cars, Vacations, and Bubble Communities

Well, it is that time again. As everyone heads off to school they make sure to bring home those darn colds. It has been hitting our little group like crazy. K's poor allergies have been out of control, plus an unpleasant and everlasting case of diarrhea. This poor baby has been to more doctors appointments than craft dates this month, not to mention an ER date. Big C and M had a slight case of diarrhea and vomiting. I had a very persistent ear infection that followed a nasty little cold. A is working on teething and a good cough (oh, please, let it just be teething!). And than there is Sara's car. It has been out of commission, leading us to the third part of this complaint- vacations.

Sara will be visiting family for nearly two weeks starting Tuesday, to be directly followed by Kelly M. leaving for an entire month. That brings us to December, which is always promising snow cancellations and holiday parties. How are we ever going to get our crafty presents done before Christmas? And the solution- a bubble community.

We have an excellent group to create our own Bubble Community. We could create four houses interconnected with tunnels and sharing a large community space for a movie theater, bowling alley, hunting field, ice skating rink, and a park. We would never have to leave, although anyone who wanted to visit could come through the contamination chamber and pass a virus or bacterial check and a background check. The two Kellys are teachers to educate the children, Libby is unbelievably well organized and would be excellent as our community manager, and Sara would make our little world a beautiful place with her artistic flair. As with most people living in Northern Virginia, the husbands are military men. I'm sure we could get one of the departments to drop off food and supplies to our bubble. They would have to telecommute for work, and we would use the internet for ordering all of our crafting supplies.
Oh, the crafting we would do....

Thursday, October 14, 2010

Organizer Folder Tutorial

I am always looking for a good way to organize the stuff in my purse. Something easy I can pull out of one bag and throw into another. Or, GASP, into the diaper bag. That includes my calendar, notepad, and brag book.


So I came up with this quick, easy, and cheap organizer. I bought four fat quarters and was able to make three out of the fabric (with planning). I also used batting, velcro and interfacing. So here goes- the first tutorial.
  

I used four different fabrics. You will need:
Fabric A- 8.25" by 13"
Fabric B- 8.25" by 13"
Interfacing- 8.25" by 13"
Batting 8.25" by 13"
Fabric C- 2 pieces of 8.25" by 11" and the closure- 4" by 4"
Fabric D- 6" by 10"
Velcro- about an inch


I bought these at Target- all together it came to about $5. Make sure to pick up these items prior to sewing so you can know if you need to make any adjustments to the height of the organizer. All seams are quarter inch unless otherwise listed.

Starting with Fabric D, fold over and press a quarter inch along the LONG side. Than fold in half hamburger style.


Take identical pieces of Fabric C and press in half wrong sides together to make into a 8.25" by 5.5" rectangle. Place Fabric D piece on top of one piece aligning the folded edge of Fabric C with the edge you did the quarter inch fold. Sew 1/8th of an inch along that one side.  


Place the calendar up alongside the edge you just sewed. Draw a line with a fabric marker to see where to stitch. Sew along this line. This will allow for a pen pocket. Than place both pockets on top of Fabric B, fold side toward the middle.  
Place Fabric A on top of the batting to make sure it is the exact right size. Trim if necessary. Than iron interfacing on to the back of Fabric A.


Than with the last piece of Fabric C (note- mine is shown as in Fabric B's pattern because I lost my original piece) fold over a quarter of an inch and press. Than fold and press in half, and fold edges into the half line to create a three clean edges.  Open the last fold and sew one part of the velcro about a half an inch on all sides.

  
 Sew the other half of the velcro onto Fabric A at the midpoint of one of the shorter edges.
 So it should look like this- Fabric B on the bottom, pockets on top, with the tab (velcro side down).
 Followed by Fabric A with right sides facing and velcro on the opposite side than the tab, and last, the batting.


So this next part is the hard part to show. Start sewing on the side without the tab only about 1.5 inches from the corner. Sew to the close corner, turn, and sew the next three sides. When you come to the last side, turn and sew only 1.5 inches again. This will leave a 5 inch gap to pull it right side out.


So than, pull the right side out. Use a long stick type thing to push out the corners (I used a really long knitting needle, but make sure you don't push through the stitches), and iron top and bottom.

Make sure the loose middle gets tucked in nicely while you are ironing. Use pins to hold it in place and than top stitch all the way around.


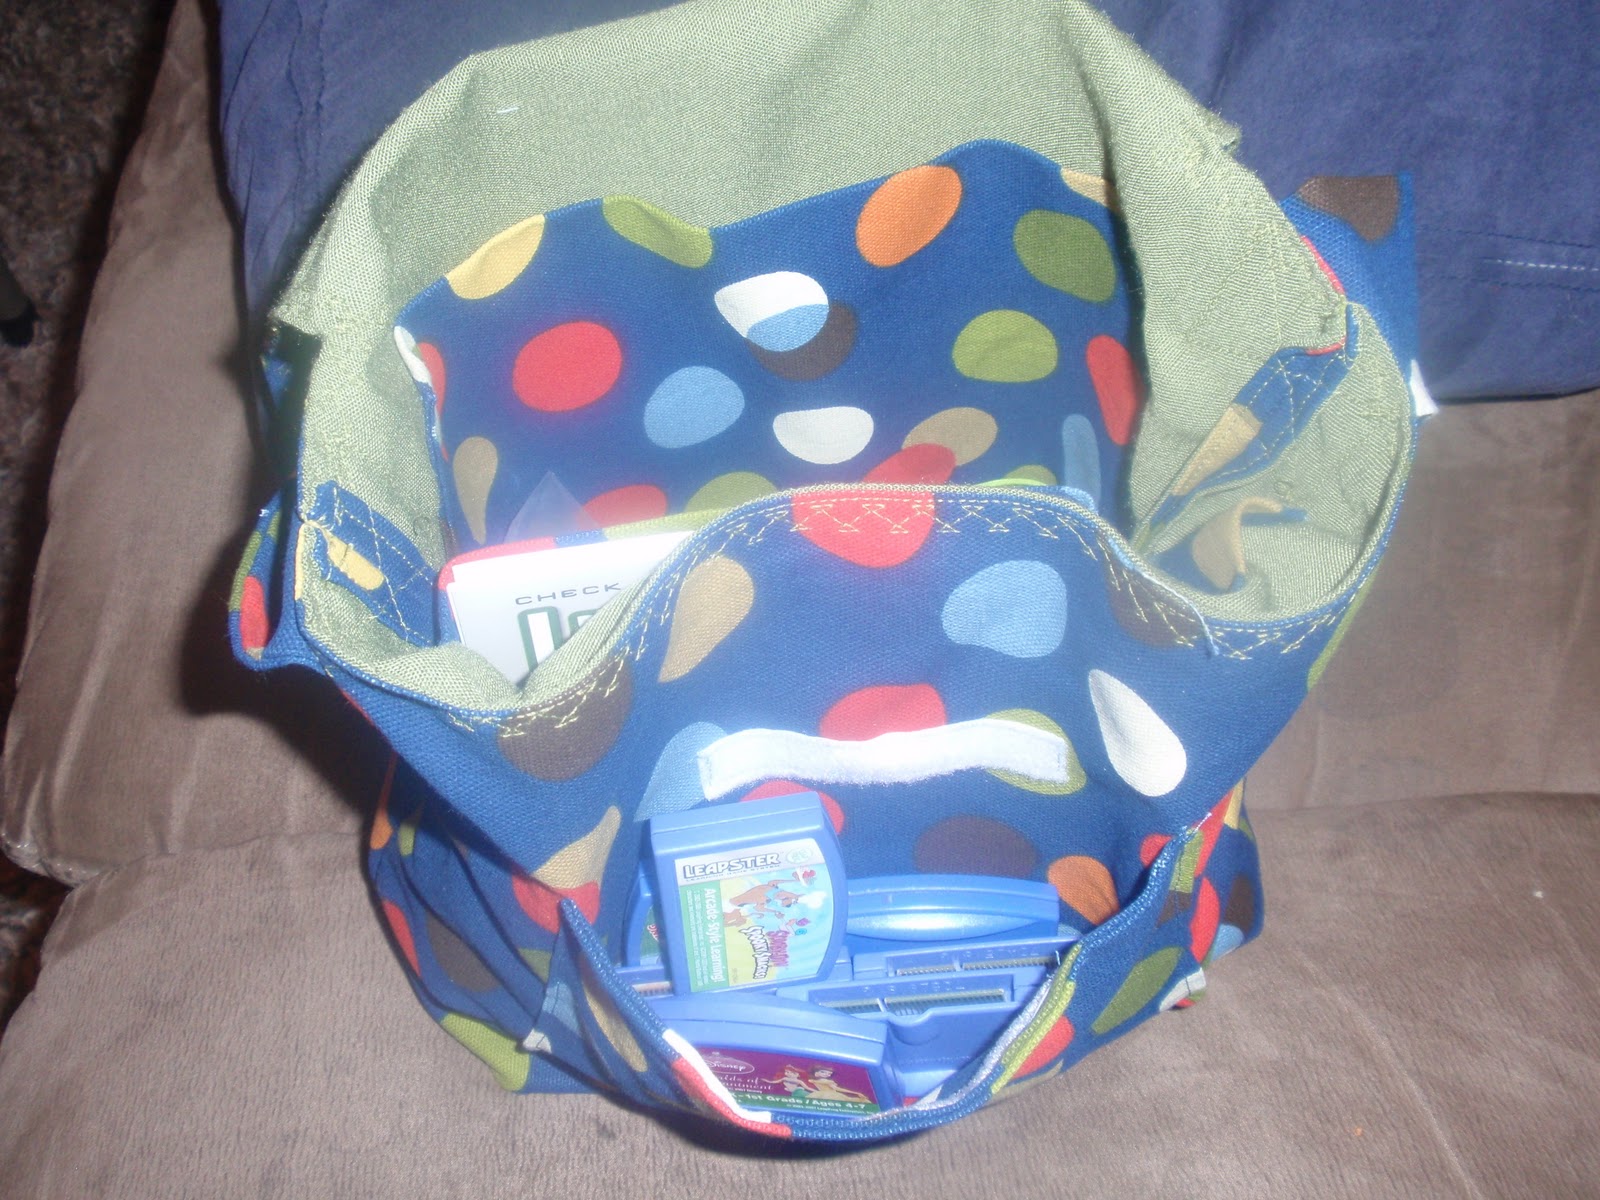
You should be done!!! Fill with your calendar, notepad, pen, and brag book. It will look like this.


Thanks for sticking it out through my first tutorial. Please add comments if you have any questions and I will try to help you though it.